

Grooming your dog at home is a rewarding skill that saves you money and strengthens the bond between you and your pet. By mastering a few specific techniques and using the right tools, you can maintain your dog’s health and keep them looking sharp without the stress of a professional salon visit.
Assemble the Necessary Tools
Before handling your dog, you must have a completely set-up station. Stopping mid-groom to find a towel can cause your dog to become anxious or escape. While specific needs vary by breed, every home grooming kit requires these essentials:
- brushes and Combs: A slicker brush for general brushing, a metal greyhound comb for checking for tangles, and a de-shedding tool if your dog has a double coat.
- Clippers and Scissors: High-quality electric clippers with guard combs and blunt-nosed shears for sensitive areas like the face and paws.
- Washing Supplies: Dog-specific pH-balanced shampoo (human shampoo dries out their skin), conditioner, and old towels.
- Safety Items: Styptic powder (to stop bleeding if you nip a nail quick) and cotton balls for the ears.
- Nail Trimmers: Guillotine or scissor-style clippers, depending on the size of your dog’s nails.
Prep the Coat Before the Bath
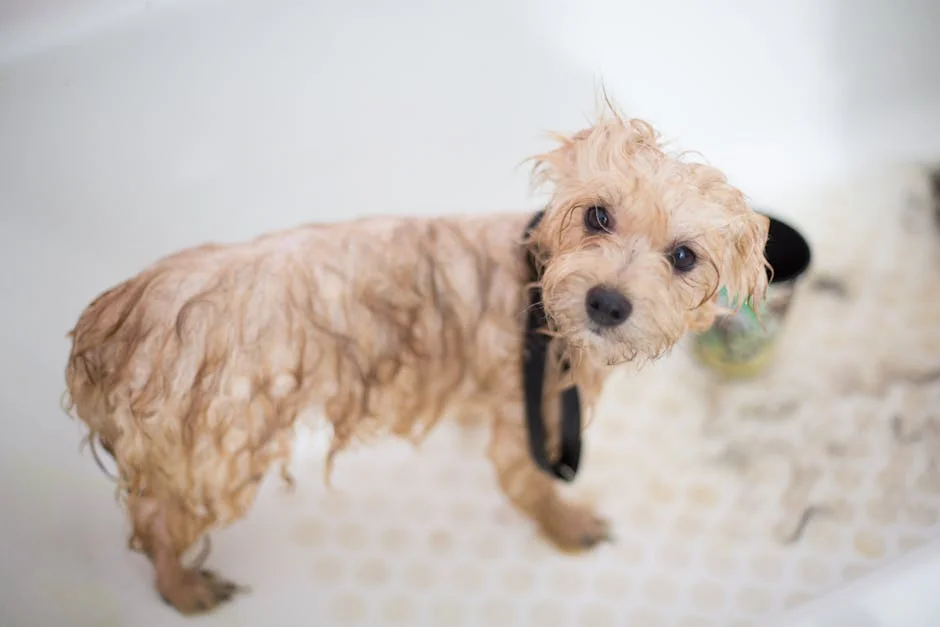
Many owners make the mistake of putting their dog directly into the bath. You must brush your dog thoroughly before getting them wet. Water tightens mats and tangles, turning manageable knots into solid felts that are nearly impossible to remove without shaving them close to the skin.
Removing Mats and Tangles
Start with a slicker brush to work through the coat. If you encounter a mat, do not pull or yank. Hold the hair at the base (closest to the skin) to prevent pulling on your dog’s skin, and gently pick at the mat with the end of the metal comb. Work from the outside of the knot inward. If a mat is too tight, use blunt-nosed scissors to cut vertically into the mat (away from the skin) to loosen it, then brush it out.
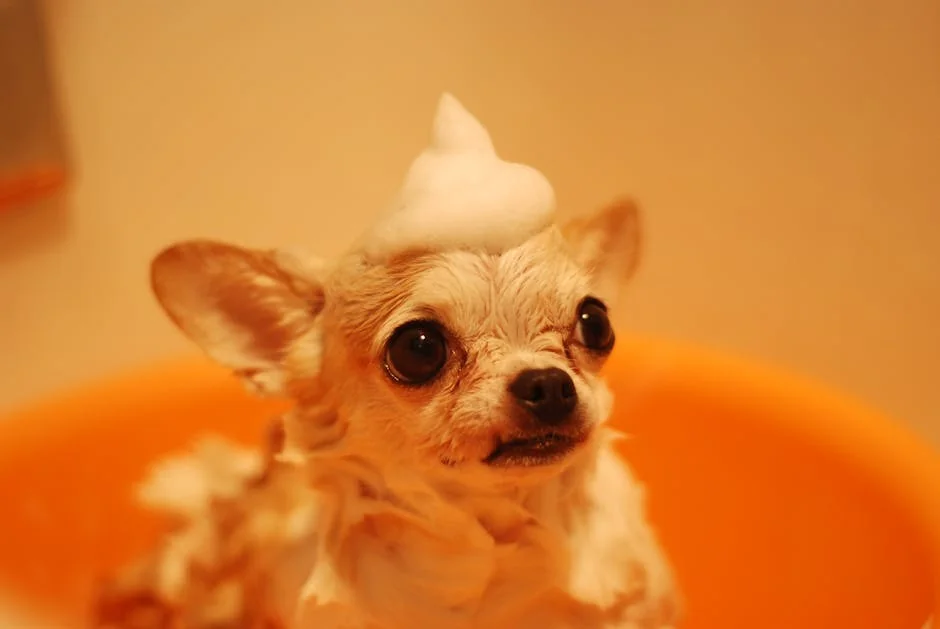
The Bathing Process
Once the fur is tangle-free, move to the bath. Place a non-slip mat in the tub or sink to help your dog feel secure. Place cotton balls gently inside their ears to prevent water from entering the ear canal, which can cause infections.
Wet the coat thoroughly with lukewarm water. Test the temperature on your wrist; it should feel neutral, not hot. Apply shampoo and lather, starting from the neck and working your way down to the tail. Save the head for last to minimize the urge to shake.
When cleaning the face, use a washcloth or a sponge rather than pouring water directly over the nose and eyes. Rinse the coat until the water runs completely clear. Residue from shampoo is a leading cause of skin irritation, so rinse longer than you think is necessary.
Drying Technique
Proper drying prevents fungal skin issues and “wet dog” smell. Squeeze excess water out of the coat with your hands before letting the dog shake. Use a highly absorbent towel to blot the fur; avoid vigorous rubbing, as this creates new tangles.
If your dog tolerates it, use a hair dryer on the coolest setting. Keep the dryer moving constantly to avoid burning the skin. For dogs with thick undercoats, you must ensure the hair is dry all the way to the skin to prevent hot spots (acute moist dermatitis) from forming.
Trimming and Clipping
Once your dog is clean and completely dry, you can begin trimming. If you are using electric clippers for a full haircut, ensure the blades are sharp and lubricated.
Handling the Clippers
Move the clippers in the direction of hair growth for a smooth, natural finish. Moving against the grain cuts the hair shorter and can leave choppy “track marks.” Check the temperature of the clipper blade against your inner wrist frequently. Metal blades heat up quickly and can burn your dog’s skin within minutes. If they are hot, spray them with clipper coolant or switch blades.
Scissor Work details
Use your blunt-nosed shears for the face, feet, and sanitary areas.
- Paws: Trim the hair extending past the pads to improve traction on slippery floors.
- Sanitary Areas: Keep the hair around the anus and genitals short to maintain hygiene.
- Face: clear the hair away from the eyes. Approach the face calmly and avoid pointing the scissors directly at the eyes; approach from the side or back of the head.
Nail Care
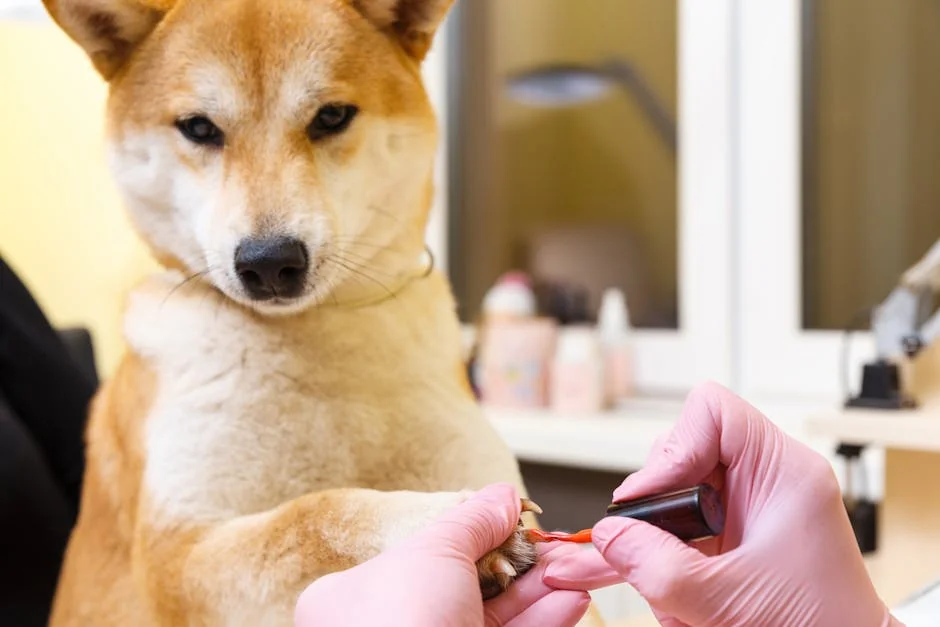
Long nails can affect your dog’s gait and cause joint pain. Trim the nails by taking off small slivers at a time. Look for the “quick”—the pink vessel inside the nail that supplies blood. On white nails, this is easy to see; on black nails, look for a chalky white ring on the cut surface of the nail. This ring indicates you are getting close to the quick and should stop.
If you accidentally cut the quick, dip the nail into styptic powder immediately to stop the bleeding.
Assessing Ear Health
Finish your grooming session by checking the ears. Remove the cotton balls you placed earlier. Wipe the visible part of the inner ear flap with a vet-approved ear cleaning solution and a cotton ball. Never insert Q-tips deep into the ear canal, as you risk packing wax further down or damaging the eardrum. If the ears smell like yeast or have heavy, dark discharge, consult your veterinarian rather than trying to clean them yourself.